

A case study by Dr Graeme Milicich
DIAGNOSIS & TREATMENT
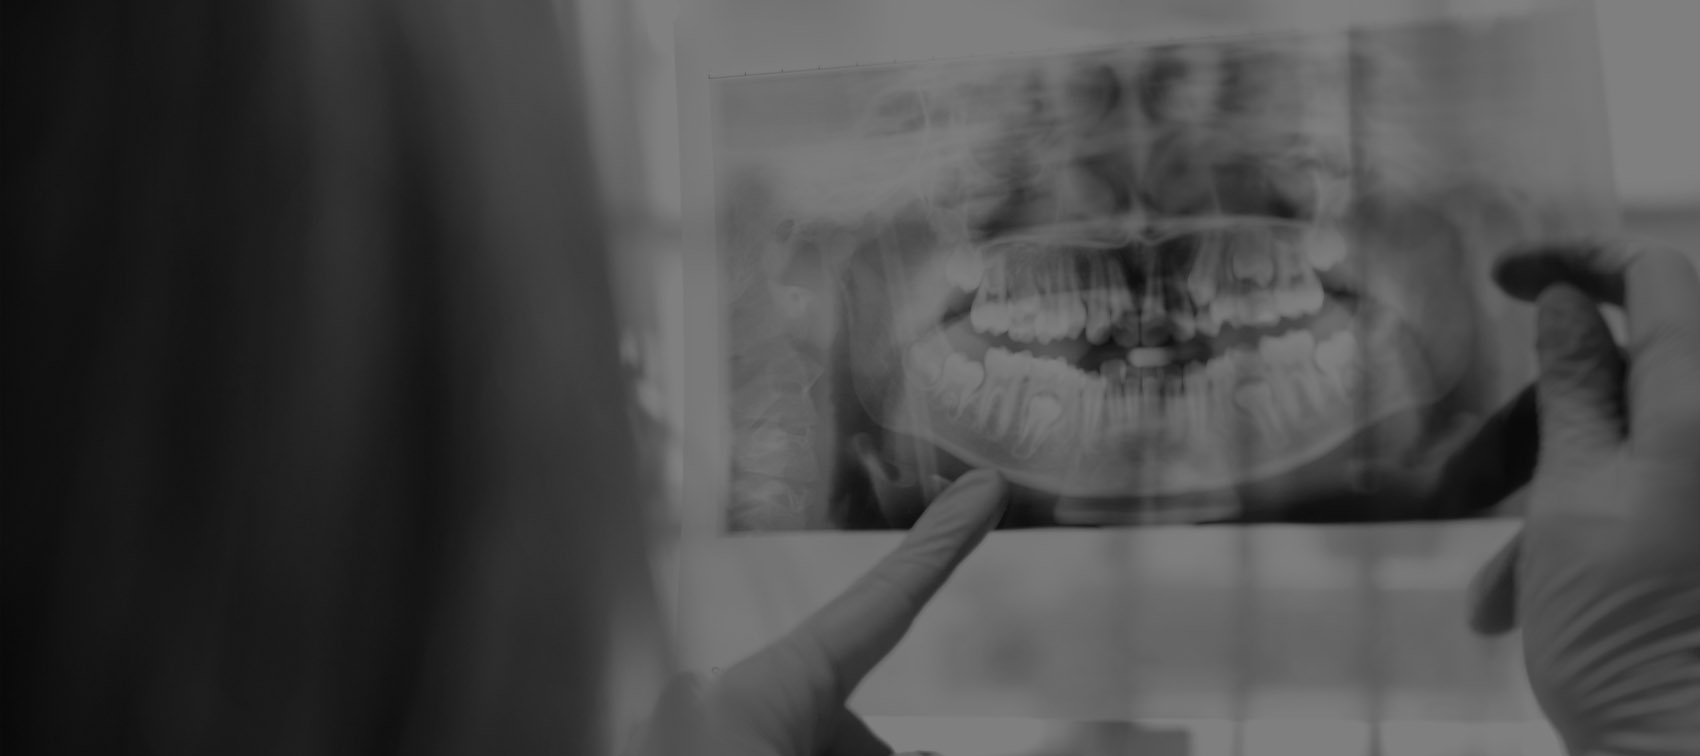
A patient presented with a very deep carious lesion on the distal of 36 causing regression of the distal pulp horn (FIG 1). Upon excavation, it became apparent there was a high risk of an exposure if all of the slightly softened dentin was removed from the depths of the cavity.
The decision was made to leave a small area of slightly softened dentin over the pulp in the depths of the cavity (FIG 2). A 2 mm wide margin was established in sound dentin around the periphery of the cavity. The tooth was prepared for restoration using the Triodent V3 system and isolation was provided using an Isolite and cotton rolls (FIG 3). The enamel margins were selectively phosphoric etched for 15 seconds (FIG 4), and the dentin then etched for 5 seconds before thorough rinsing. riva star (FIG 5) was then used to deposit silver fluoride onto the cavity surfaces. Part 1 in the silver vial was applied into the cavity surface (FIG 6), followed immediately by an application of Part 2 (FIG 7), followed by two more applications until the cavity surface changed from a white deposit (FIG 8) to a clear colour. The cavity was then thoroughly rinsed and dried. riva self cure HV was placed into the depths of the cavity and contoured to keep it away from the margins so a closed sandwich restoration could be completed. A self-etch adhesive was then applied to the cavity margins and over the GIC, air thinned and polymerised. (FIG 9) The cavity was then incrementally filled with composite to complete the restoration.

Fig 1. X-ray of deep cavity on 36.
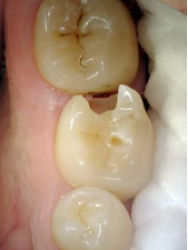
Fig 2. Cavity preparation.
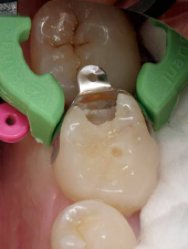
Fig 3. Tooth prepared for restoration with the V3 system and Isolite.

Fig 4. Selective etching of the enamel margins prior to 5 sec etching of the dentin.
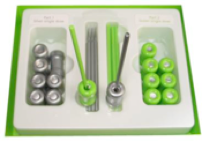
Fig 5. riva star. (SDI Ltd.)
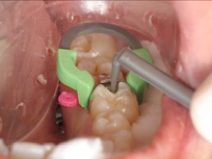
Fig 6. Application of riva star Part 1.
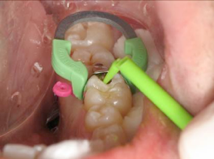
Fig 7. Application of riva star Part 2.
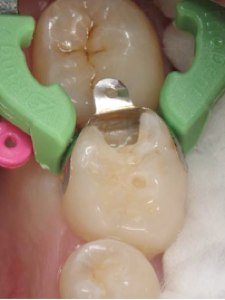
Fig 8. Initial white deposit that occurs when Part 2 is initially applied. Further applications are required until the cavity becomes clear.
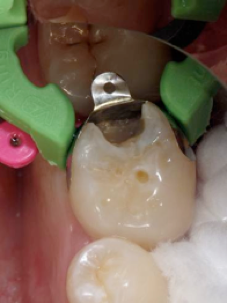
Fig 9. Placement of the high viscosity self-cured GIC, riva self cure HV (SDI Ltd.)
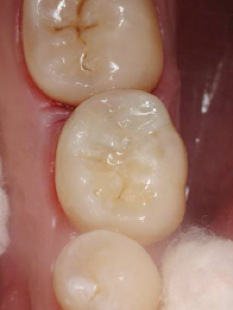
Fig 10. Completed cavity.
ABOUT THE AUTHOR
Dr. Graeme Milicich graduated from Otago in 1976 and has since been in private group practice. His fields of interest include cosmetic dentistry, occlusal rehabilitation, implant prosthetics, minimal intervention and lasers. He is a Fellow, Diplomate and founding board member of the World Congress of Minimally Invasive Dentistry. He is also a founding board member of the NZ Institute of Minimal Intervention Dentistry.
E-mail: [email protected]
To find out more about SDI’s riva product range or to place an order or book a FREE “Lunch & Learn” CLICK HERE