

This case summary relates to the restoration of non-complicated maxillary incisor fractures. A direct composite material (Luna 2®) was used as a simple direct method enabling a good degree of polish, excellent aesthetics, and strength. A conservative method was also preferable to reduce the adverse effects related to further tooth preparation.
Summary
A female patient attended for aesthetic options to restore her maxillary fractured incisors. These had fractured some years earlier due to trauma and as the fractures were minimal, she did not seek restoration at the time. Leading up to the consultation, she’d begun to consider a non-invasive option to restore the aesthetics.
This patient sought treatment to improve the aesthetics without causing unnecessary damage to the remaining tooth tissues. Tooth surface loss and slight imbrication were noted, and a direct restorative technique was deemed appropriate for progression. There were no symptoms, so a direct robust restorative method was the optimal option to preserve as much tooth tissue as possible. There was also a slight imbrication noted between the upper central incisors. All the teeth were assessed as disease-free, there was no known history or clinical signs of parafunction, and the oral hygiene was good.
Clinical stages
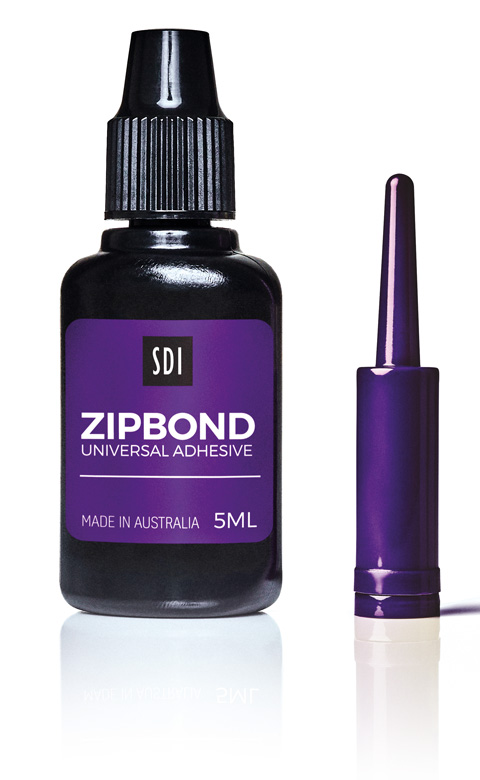
For this case the restorative material needed to be easy to use, durable and provide exceptional bond strength. A standard restorative tray set-up was used and Super Etch®, Zipbond®, and Luna 2® were chosen as ideal restorative materials for application.
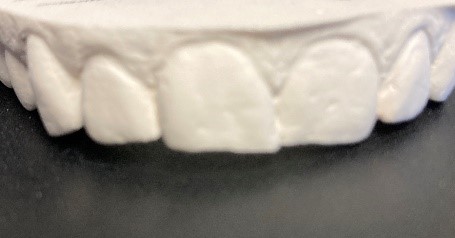
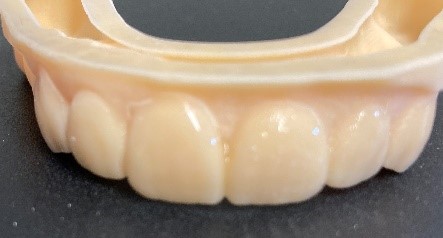
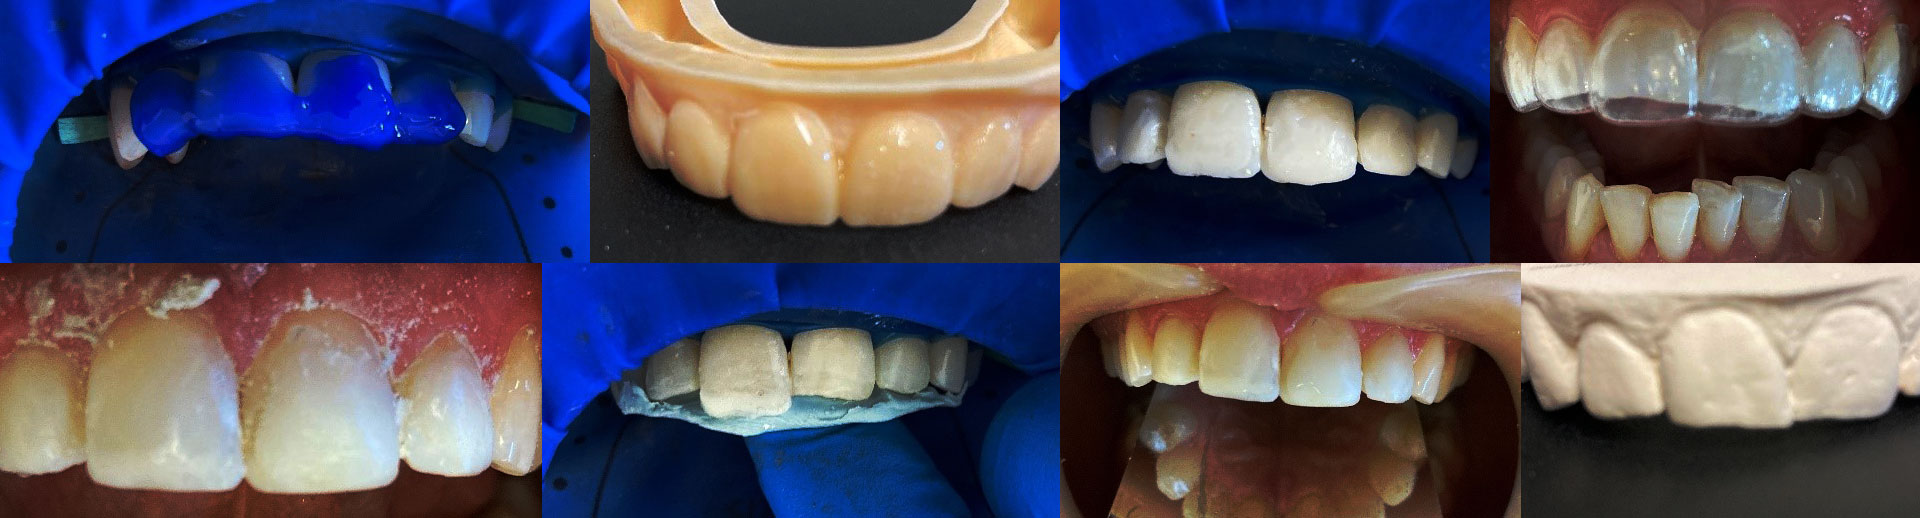
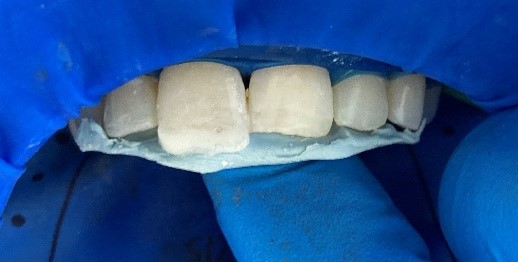
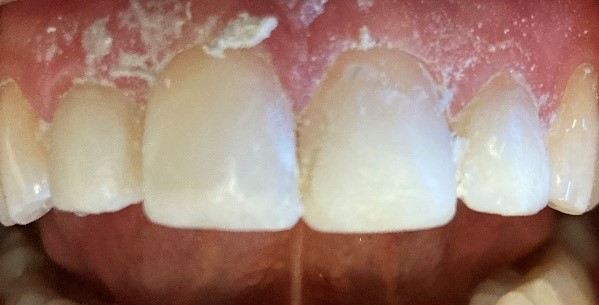
These preoperative slides demonstrate the enamel defects involving fractures affecting the incisal edges. There is some mild imbrication. A diagnostic 3D model was made in the laboratory.
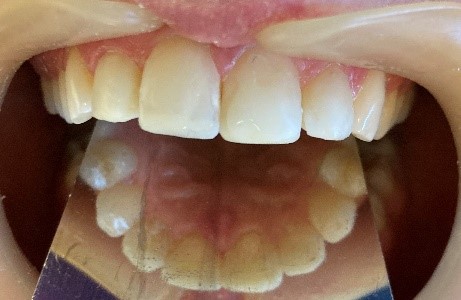
Initially, the shade was taken in natural light and before isolation to avoid errors due to dehydration. A single shade B was selected.
Initially, the shade was taken in natural light and before isolation to avoid errors due to dehydration. A single shade B was selected.
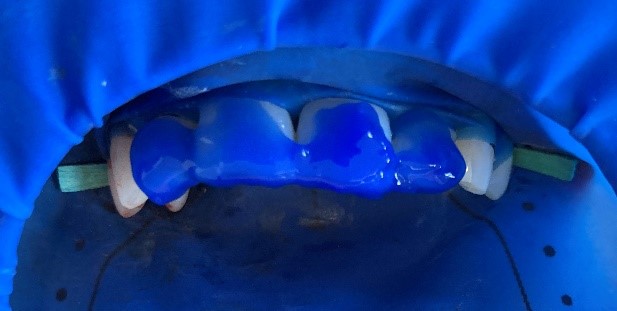
A 15-second etch technique was employed. The etch was washed for 30 seconds and gently air dried to avoid desiccation.
Zipbond® resin was applied and gently air dried before light curing. Luna® composite was then applied to the cavity in increments to replace the deficient enamel and dentine. A single shade technique was employed. At the same time, care was taken to avoid air pockets.
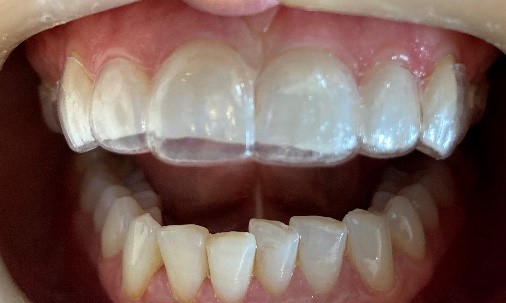
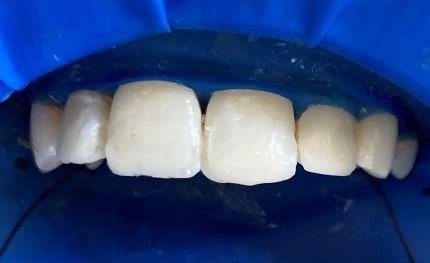
Luna 2® composite was then applied, and light cured. Due to the natural shade of the teeth, a single shade method was found to be sufficient. The correct tooth form was re-created, and contacts were polished with approximal finishing strips. The occlusion was checked and the composite polished.
Initially, the shade was taken in natural light and before isolation to avoid errors due to dehydration. A single shade B was selected.
A 15-second etch technique was employed. The etch was washed for 30 seconds and gently air dried to avoid desiccation.
Zipbond® resin was applied and gently air dried before light curing. Luna® composite was then applied to the cavity in increments to replace the deficient enamel and dentine. A single shade technique was employed. At the same time, care was taken to avoid air pockets.
Luna 2® composite was then applied, and light cured. Due to the natural shade of the teeth, a single shade method was found to be sufficient. The correct tooth form was re-created, and contacts were polished with approximal finishing strips. The occlusion was checked and the composite polished.
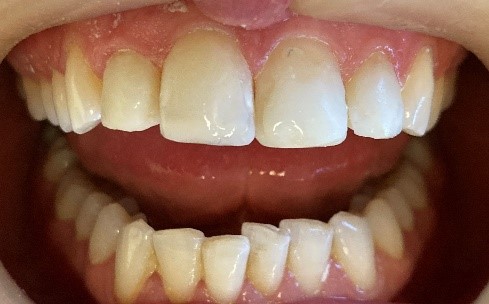
The final result
This case represents a simple technique for improving the aesthetics for a patient with non-complicated enamel fractures seeking a minimally invasive restorative solution. The use of direct restorative material is the only choice at this stage and the case will need ongoing revision.
Luna 2® composite provided a simple effective way of solving her restorative care thanks to its natural tooth-like appearance across all lights, and unique blend of fillers. These provide non-stick, non-slump handling, a creamy texture, and exceptional strength and aesthetics. It also has the long-term benefit of outstanding 250% radiopacity, providing reliable future diagnosis and visualisation, and aiding ongoing revision. A more complex and invasive therapy would not be appropriate.
Dr Jatinder Heer
BDS Lond, MFGDP(UK)
Dr Jati Heer has been working as a general practitioner for twenty-five years, with a career that’s also spanned hospital environments. After setting up the JH Dental Clinic in 2001 he’s been involved in both general dentistry and acts as a referral centre for more complex cases. Dr Heer is an advocate for advancements in dentistry that are backed up by robust clinical research.